How to Use a Mobile Gimbal: Setup, Remote and Tripod Mode
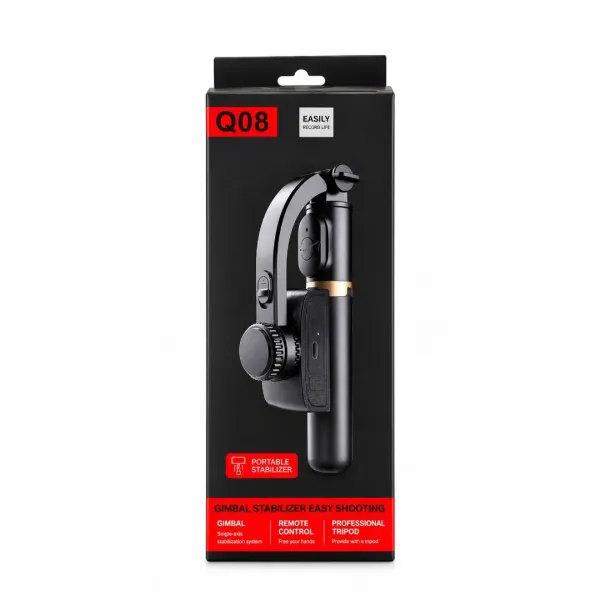
Step by step: charge, mount and switch on a phone gimbal, pair the Bluetooth remote, use the tripod legs and selfie stick, and fix a leaning phone or a remote that won't connect. Shown on the Q08.
In this guide
Video · 0:38
JIKRA Q08 Mini Gimbal: Handheld vs Gimbal Test and How to Switch It On
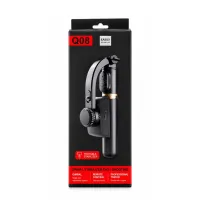
A 37-second video of the JIKRA Q08 mini gimbal, a 1-axis phone gimbal that also works as a selfie stick and a tripod. It opens with the same walk filmed twice, once with the phone held in hand and once on the Q08, side by side so you can compare the shake.
- 0:00 Handheld vs gimbal: the same walk side by side
- 0:05 The JIKRA Q08 gimbal and its stabilisation
- 0:12 Bluetooth remote for photos and videos
- 0:18 How to switch it on: press and hold the button
- 0:27 Who it is for
- 0:35 Price and where to order
By the Jikra team. JIKRA sells the Q08 gimbal shown in this guide. AI helped us draft it; the steps were checked against our own Q08 reel, the box and the listing. Different "Q08" gimbals from other sellers can use different button presses, so keep the leaflet from your box handy.
Quick answer: charge the gimbal fully, clamp your phone in the centre, then press and hold the power button until the light comes on. Pair the remote through your phone's Bluetooth, hold the handle close to your body and record in your normal camera app. For table shots, open the tripod legs in the base.
Before your first shoot
- Charge it fully. The Q08 charges through the USB port on the handle. Its built-in 450 mAh battery gives about 2 hours of use per charge.
- Check the remote. The Q08's Bluetooth remote runs on its own CR1632 coin cell. If it came with a plastic tab in the battery slot, pull the tab out.
- Take off heavy phone cases and grips. The clamp holds phones 60 to 95 mm wide. A thick case or a ring grip makes one side heavier, and the motor then works to hold the weight instead of steadying the picture.
- Turn on your phone's own video stabilisation in the camera settings. The phone and the gimbal work best together.
Know the parts
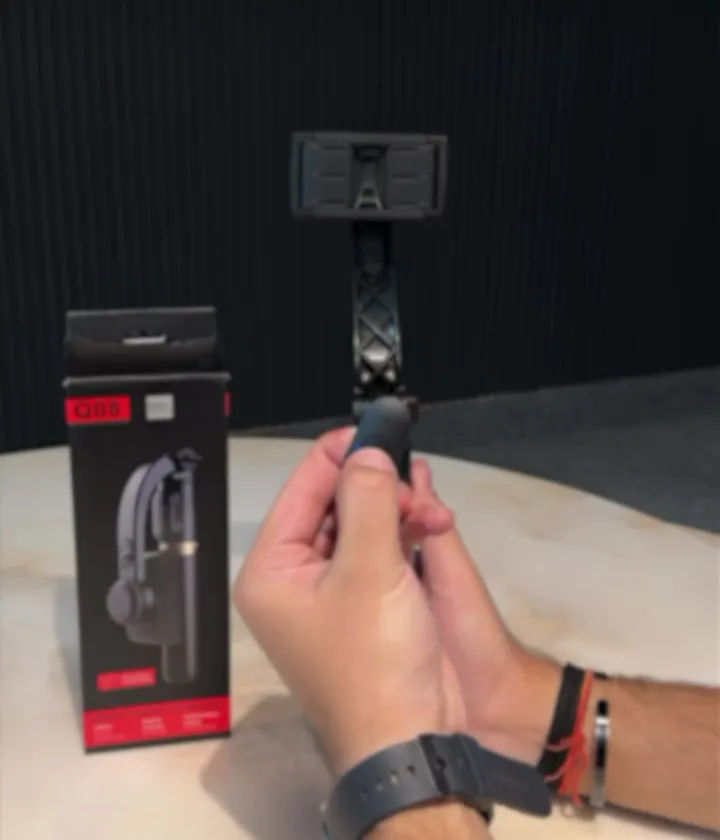
- Phone clamp: a spring clamp at the top that turns for portrait (reels) or landscape (YouTube) video.
- Head: the part between the clamp and the handle, which holds the motor that moves the phone. Don't force the clamp round by hand while the gimbal is switched on.
- Control panel: the flat panel on the head with the power button and a status light, next to the round knob.
- Handle and stick: the grip, with the USB charging port. The stick pulls out to about 70–75 cm for group shots.
- Tripod legs: fold out of the base of the handle.
- Bluetooth remote: a small detachable shutter button.
Step 1: mount your phone
- Unfold the clamp arm and open the spring clamp.
- Put the phone in so it sits centred left to right. A phone pushed to one end makes the gimbal lean.
- Let the clamp close firmly on both sides, then turn it to portrait or landscape.
Mount the phone before you switch on, so the motor starts with the weight already in place.
Step 2: switch it on
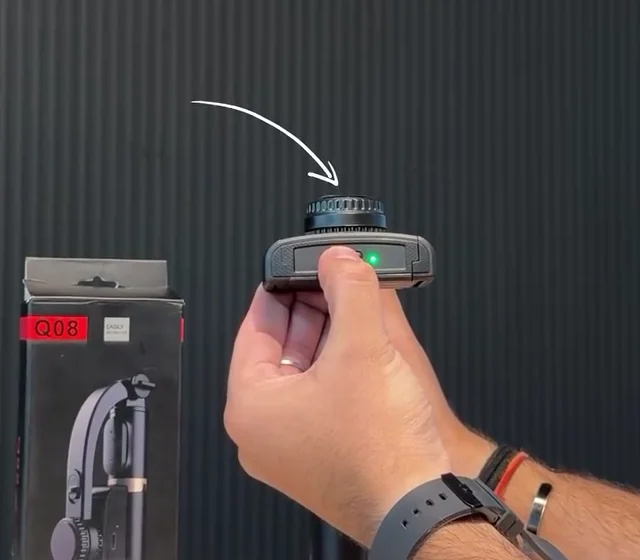
Press and hold the button on the control panel until the status light comes on. The motor will level the phone straight away. If the phone flops or buzzes, switch off, re-centre the phone, and switch on again.
Step 3: pair the Bluetooth remote
- Turn on Bluetooth in your phone's settings.
- Switch on the remote with its button. A blinking light usually means it is ready to pair; the leaflet in your box shows the exact press for your unit.
- Pick the remote from your phone's list of Bluetooth devices. Its name varies between batches.
- Open the camera app and press the remote once. It should take a photo, and in video mode the same press usually starts and stops recording.
If pressing the remote changes the volume instead: Bluetooth shutters work by sending a volume-button press. On many Android phones you can set the volume keys to take a picture in the camera app's settings. On iPhone, the volume buttons take photos by default.
Step 4: hold it and shoot
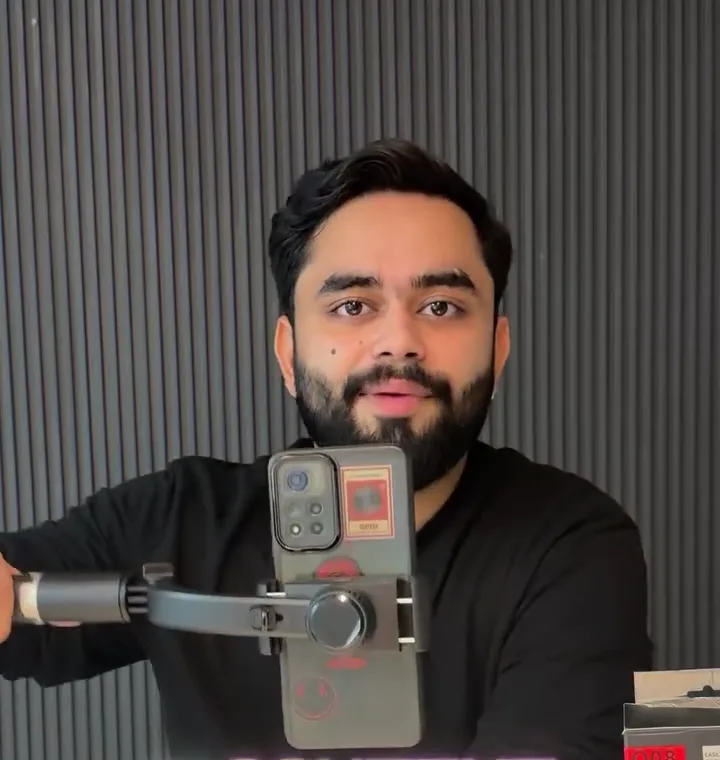
- Keep it close. Hold the handle near your chest with your elbow bent, not at arm's length. Your arm then works like a shock absorber.
- Walk softly. Knees slightly bent, heel to toe. The gimbal fixes tilt, not the bounce of heavy steps.
- Turn slowly. Quick turns still look jerky on a 1-axis gimbal. Turn your whole body from the hips.
- Lock focus and exposure by tapping and holding on the screen before you start, so the picture doesn't pulse as you move.
- Record a few extra seconds at the start and end. You can trim them later, and you won't lose the moment while the shot settles.
Step 5: tripod and selfie stick mode
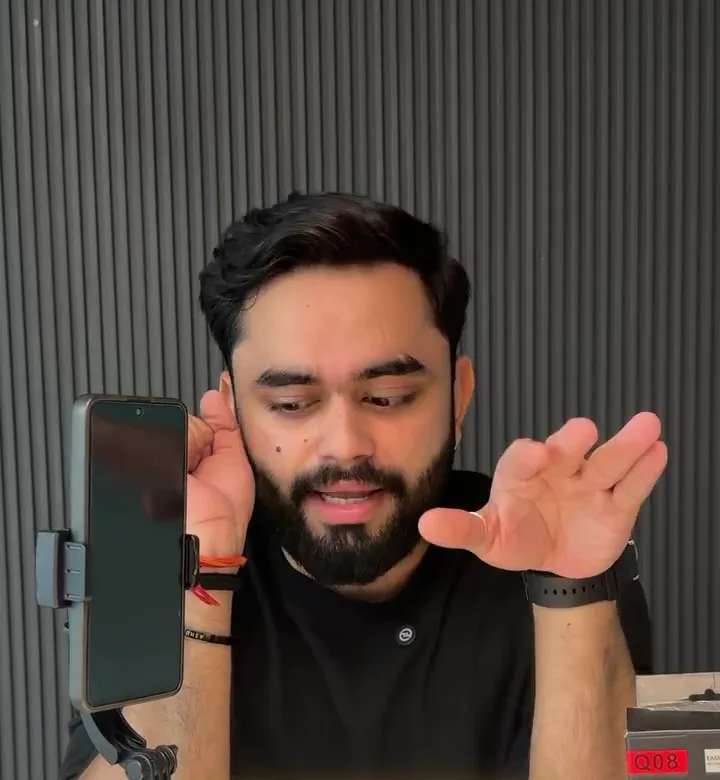
- On a table: fold the legs out of the base and stand it on a flat surface. Use it for video calls, online classes, table-top reels and group photos with the remote.
- Selfie stick: pull the stick out to about 70–75 cm for group photos and wider frames. With the phone further from your hand, small movements are bigger on screen, so move slowly.
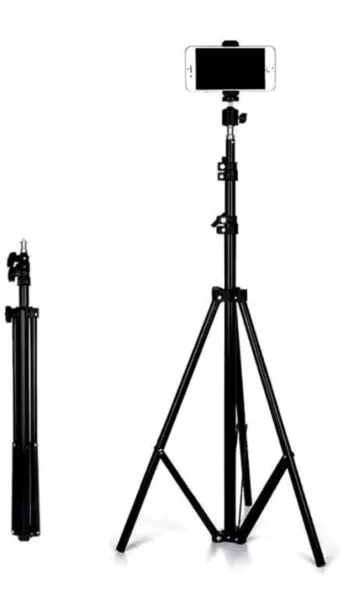
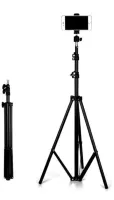
- Need more height? The built-in legs are for tables. For a standing shot from the floor, a 7 ft tripod stand is the better tool, and our overhead recording guide covers top-down cooking and unboxing shots.
Charging and care
- Charge after a shoot so it is ready next time, and top it up every month or two if you don't use it.
- Don't leave it on a car dashboard or in direct sun; heat is hard on any battery.
- Switch off before you fold the clamp or put it in a bag.
- Keep the remote's spare CR1632 cell with your kit; it is the most common reason a remote stops working.
Troubleshooting
| Problem | Likely cause | Fix |
|---|---|---|
| Won't switch on | Flat battery, or the button wasn't held long enough | Charge it, then press and hold the button until the light comes on |
| Phone leans or drifts to one side | Phone off-centre, or a heavy case | Switch off, re-centre the phone, remove the case, switch on |
| Motor buzzes or shakes | Too much weight on one side | Re-centre the phone; remove grips, lenses or lights clipped to it |
| Picture is level but slightly tilted | Phone clamped at an angle | Re-clamp it straight, then switch off and on |
| Remote doesn't work | Coin cell, not paired, or out of range | Replace the CR1632 cell, pair again, stay within about 10 m |
| Remote changes the volume | Camera app volume-key setting | Set the volume keys to shutter in the camera settings |
| Walking video still bounces | Bounce isn't corrected by a 1-axis gimbal | Walk heel to toe, hold it closer, keep phone stabilisation on |
Still stuck? Reach us through our contact page. The Q08 has a 7-day replacement window.
Gimbal kaise use kare? (Hinglish mein short)
- Pehle gimbal ko full charge karein.
- Phone ko clamp ke beech mein lagayein, phir power button dabakar rakhein jab tak light na jale.
- Phone ka Bluetooth on karke remote ko pair karein.
- Handle ko body ke paas pakdein, dheere chalein aur dheere ghumein.
- Table par shoot ke liye neeche ke tripod legs khol dein.
Frequently asked questions
Do I need an app to use the Q08?
No. The motor and sensor are inside the handle, so you record with your phone's normal camera app.
Does it work with iPhone and Android?
Yes. The clamp holds any phone 60 to 95 mm wide, and the Bluetooth remote works as a camera shutter on both.
Should I switch the gimbal on before or after mounting the phone?
After. Mount and centre the phone first, then switch on, so the motor levels the phone with its weight already in place.
How long does a charge last?
About 2 hours of use from the Q08's built-in 450 mAh battery.
Why does my gimbal keep leaning?
Almost always because the phone isn't centred or one side is heavier. Re-centre it without the case and restart the gimbal.