Colour Pencil Drawing for Beginners: A Step-by-Step Guide
New to colour pencil drawing? Learn the five basic techniques, draw your first apple step by step, and see how to mix in oil pastels, markers and paint from a colouring kit.
In this guide
To start colour pencil drawing, draw a light outline with an ordinary pencil, then colour in soft, light layers and build the colour up slowly, pressing harder only at the end. All you need is a set of colour pencils, a pencil, an eraser, a sharpener and some smooth, thick paper.
This guide covers the five basic techniques, a first drawing you can finish in one sitting, easy ideas to practise, and how to add oil pastels, markers and paint if you have a full colouring kit.
What you need
- Colour pencils: even a small set is enough to learn with.
- An ordinary pencil: for the outline, because it rubs out more easily than colour.
- An eraser and a sharpener.
- Paper: smooth, thick drawing paper or a drawing book. Thin printer paper tears and shows every stroke.
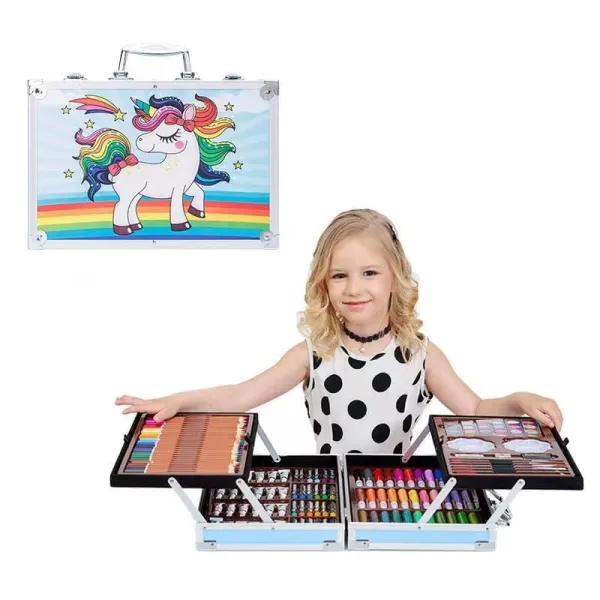
The JIKRA 145-piece colour pencil set has all of this except the paper: 28 colour pencils, 2 pencils, 2 erasers and a sharpener, plus oil pastels, markers, paint tubes, paint cakes, brushes and palettes for later. Keep a drawing book next to it.
How to hold and sharpen colour pencils
- For light, even colour, hold the pencil further back from the tip and let it glide.
- For details and edges, hold it closer to the tip.
- Use a sharp point for small areas and lines. Tilt the pencil and use the side of the tip to fill large areas.
- Sharpen gently, a little at a time, so the coloured core does not snap.
Five basic colour pencil techniques
1. Light pressure and layering
Colour pencil works in layers. Lay down a light first layer, then go over it again with the same colour or a new one to deepen it. Artists build up tones this way, layer by layer. If you press hard on the first layer, you fill the paper's grain and have no room left for more layers.
2. Colour pencil shading: light to dark
Shading shows where the light falls. Press lightly on the side facing the light and a little harder on the shadow side. For deeper shadows, layer a darker colour such as dark blue, brown or dark red over the base colour, instead of pressing harder and harder with one pencil. A good warm-up: draw a row of five boxes and shade them evenly from the palest to the darkest with one pencil.
3. Blending
To soften the join between two colours, go over it with the lighter colour. To finish an area smoothly, press firmly with a light-coloured pencil over the layers below. Artists call this burnishing. It gives a smooth, slightly shiny surface, so save it for the last layer.
4. Strokes: lines, hatching and small circles
Keep your strokes going the same way across an area, so the colour looks even. Hatching (rows of lines) and cross-hatching (a second set of lines across the first) build shade quickly. Tiny overlapping circles give a soft, even texture for skin, skies and fruit.
5. Keep your highlights white
Colour pencils cannot cover dark colour with light very well, so plan the brightest spots first and leave the paper white there. A small white shine on an apple or an eye makes a drawing look round and real.
Your first drawing: an apple, step by step
- With an ordinary pencil, draw a light circle with a small dip at the top. Add a short stem and a leaf.
- Decide where the light comes from, and mark a small highlight spot on that side. Leave it white.
- Colour the whole apple, apart from the highlight, with a light layer of yellow.
- Add a light layer of red over the yellow, keeping your strokes curved around the apple's shape.
- Add a second red layer on the shadow side, a little firmer.
- Deepen the darkest edge with a dark red, brown or dark blue, in light layers.
- Colour the stem brown and the leaf green, with a darker green down one side of the leaf.
- Draw a soft grey or brown shadow on the table, under the apple, on the side away from the light.
- Blend the reds with the lighter colour, then rub out any pencil outline that still shows.
Easy colour pencil drawing ideas for beginners
- Fruit: a mango, a banana or a slice of watermelon
- A single leaf or flower, coloured from light to dark
- A rainbow or a sunset sky, to practise blending one colour into the next
- A diya, a kite or a simple rangoli pattern for festival cards
- A cartoon animal with big, flat areas of colour
- A house and tree scene, to practise near and far colours
Add oil pastels, markers and paint from the same kit
A colouring kit lets you mix mediums once you are comfortable with pencils.
- Oil pastels are made with oil and wax, give bold colour and blend easily. Smudge them with a fingertip or tissue for skies and backgrounds. They never dry completely, so keep pastel drawings in a folder or between clean sheets. You can also scratch through a top layer to show the colour underneath.
- Markers are good for bold outlines and flat areas. Put the cap back on straight away so they do not dry out.
- Paint cakes soften when you touch them with a wet brush. Mix colours on a palette, and use thick paper so it does not wrinkle or tear when wet.
- Paint tubes: squeeze a small drop onto the palette, and wash the brushes as soon as you finish.
Let paint dry fully before you draw over it with colour pencils.
A note on water: only watercolour pencils, also called water-soluble pencils, turn into paint when wet. The 28 pencils in the JIKRA kit are labelled colour pencils, not watercolour pencils, so use them dry, and use the paint cakes or tubes for water effects.
Common beginner mistakes
- Pressing hard from the first stroke, which leaves no room for more layers
- A dark outline that shows through the colour
- Using a blunt pencil for small details
- Colouring in every direction, which makes the area look patchy
- Colouring over the highlight and losing the shine
- Using thin paper, especially with paint
Looking after your colours
- Try not to drop colour pencils. A dropped pencil's core can crack inside and keep breaking when you sharpen it.
- Put pencils, pastels and markers back in their slots, with the caps on.
- Rinse brushes and wipe palettes after painting, and let them dry before you close the case.
- Children should use the sharpener with an adult nearby, because it has a blade.
Which set should you start with?
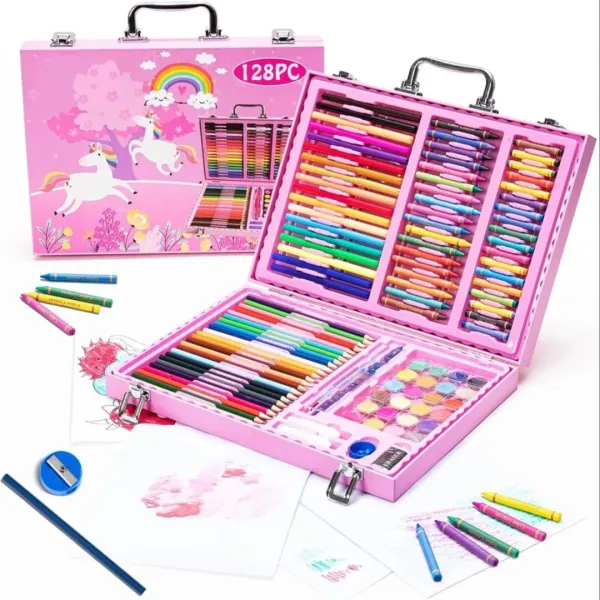
For pencil drawing alone, any set of colour pencils will do. If a child wants to try paint and markers as well, the JIKRA 145-piece set has them in one case. If you would rather have crayons and sketch paper than paints, see the JIKRA 128 piece drawing kit. To compare kits by age, read how to choose a kids art set, or browse kids, toys and stationery.
FAQs
How do I start colour pencil drawing as a beginner?
Draw a light outline with an ordinary pencil, colour in light layers, and press harder only for the final layers. Start with simple subjects such as fruit or a leaf.
How do I shade with colour pencils?
Press lightly on the side facing the light and a little harder on the shadow side. For deeper shadows, layer a darker colour over the base colour instead of pressing harder with one pencil.
How do I blend colour pencils without a blender?
Go over the join between two colours with the lighter colour, using firm, small strokes. Do this on the last layer, after the colours underneath are in place.
What paper is best for colour pencil drawing?
Use smooth, thick drawing paper or a drawing book. Thin paper tears and shows every stroke. If you add paint, use thicker paper made for wet colour.
Can I use water on colour pencils?
Only on watercolour (water-soluble) pencils. Regular colour pencils stay dry. For water effects, use watercolour paint instead.
Why does my colour pencil drawing look patchy?
Usually the strokes go in different directions, or there are too few layers, so the paper grain shows through. Keep your strokes going one way, add more light layers, and finish with firm pressure.
How often should I sharpen my colour pencils?
Sharpen whenever you need a fine line or a small detail. For filling big areas, a slightly rounded tip is fine.
What are easy colour pencil drawing ideas?
Fruit, leaves, flowers, a rainbow, a sunset, a kite or a diya, and cartoon animals with large areas of flat colour are all easy places to start.
Can children use colour pencils, oil pastels and paint together?
Yes. Many kids' colouring kits combine them. Cover the table, keep caps on, and stay nearby while young children use the sharpener and paint.